There are a million links on the web for doing this, but as part of my “Have a break from Blogging” policy, I tackled this today (has been on my To Do List for ages)
SO EASY:
- Cut out cotton cloths using pinking shears (various sizes/shapes to fit over your bowls/plates)
- Line baking tin with sheet of baking paper (oven on about 120-150 i.e. low/medium)
- Sprinkle cloth with grated pure beeswax & 1/2 teaspoon of coconut oil (optional)

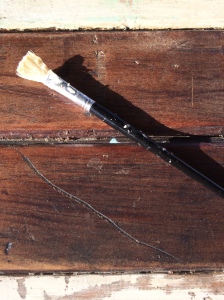
- After it all melts (approx 3-5 mins), use clean paintbrush to make sure all edges are soaked in wax (the material just sucks it up)
- Hang on line to dry (I just strung .5 metre twine between fridge & pantry), newspaper underneath to catch drips, & put tray there so the wax falls back in to be re-used. Takes 1-2 mins to harden. So Simple!

- Repeat
- Wash in cold soapy water only after use, and not good for meat products
- Fantastic gifts for every single person you know, so we can banish plastic wrap forever! There are tutorials online re putting buttons on so you can make sandwich bags etc etc, but I can’t/don’t want to sew.
- If I can do it, YOU can do it : )
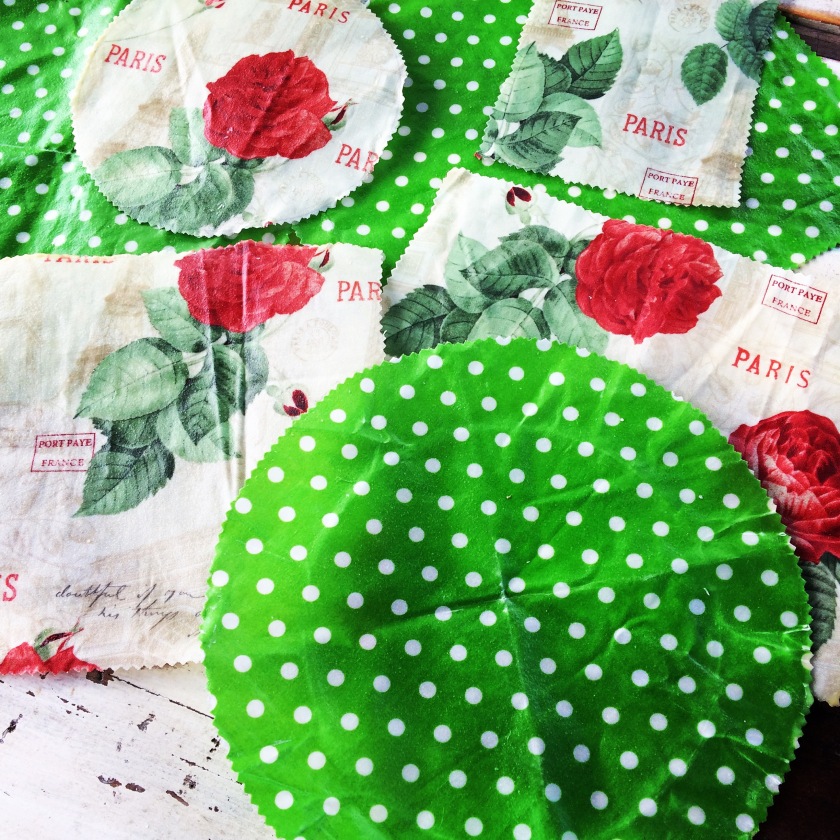
I’ve seen packs of 3 retail for $30- these 8 cost me $5 for the block of pure beeswax, and 1.5hrs of my time. Cotton cloths from op shop, or friend’s material box. Too easy!
How cute do they look? Are you inspired to give it a go? Please let me know : ), love G

Love it, definitely inspired to try. I’ve seen them around and they are so useful.
LikeLiked by 1 person
You can have one of mine Honey- I’m def gonna make more xo
LikeLike
This is so cool! What can you use them for exactly? Really creative 😊
LikeLiked by 1 person
Covering leftover food. Wrapping sandwiches/snacks. Anything that would usually call for plastic wrap (except heating food in microwave). Check out ‘beeswax cloths’ on internet- millions of clips and tutorials : )
LikeLiked by 1 person
Awesome!!!! Thanks so much Gabrielle 🙂
LikeLiked by 1 person
I am impressed, Bone. So you would use these instead of wrapping sandwiches in clingfilm or cover cheese?
LikeLiked by 1 person
Yes, exactly. I’ve impressed myself, I must admit : ) Lots of tutorials on YouTube, you’d love it- you could make them with Portugese fabric and sell them at the markets or something : )
LikeLike
I’ve never heard of this! It sounds like a great project to do with my kids!
LikeLiked by 1 person
Do it. So easy. Plenty of tutorials to watch on YouTube, and so exciting to make such pretty + practical things for the kitchen : ) Smell lovely too : ) Let me know how you go- post a pic!
LikeLike
These are so cute! But… how do they “cling” to dishes? Do you fold them over and secure with a rubber band? Or does the wax make them sticky??
LikeLiked by 1 person
As you mold them to the bowl, dish or cup, the wax gets a bit stickier, and sticks to ceramic. Not sure how they go with plastic. And probably not as clingy as plastic wrap, but so much healthier for all of us, esp the planet! You can also use elastic band or string to seal, & some tutorials show you how to sew a couple of buttons on each end flap to make sandwich wrappers you can tie shut: truly cute!
LikeLiked by 1 person
Oh, I’m going to make some!
LikeLiked by 1 person
😃👍🏼
LikeLiked by 1 person
I love it when I learn something new. I can’t wait to give this a try. Thats my afternoon sorted….watching Youtube, digging out the grandkids paint brushes etc.
LikeLiked by 1 person
Brilliant. They’re so easy, & would make great gifts too 😊
I’m doing more next week for various friends 😃
LikeLiked by 1 person
Just realised I don’t have beeswax, thank goodness we have Amazon though 😃
LikeLiked by 1 person
I would definitely suggest buying a bigger quantity if it’s cheaper, as I’m sure you will want to make them more than once/collaborate with friends etc : ) Post a pic when done!
LikeLiked by 1 person
Hey you could document & post your adventure with it, and link it to my blog. Then I could re-link to your blog as a ‘look what I inspired/look what she did’ kinda brag : ) No pressure! haha, G
LikeLiked by 1 person
Ha ha, as soon as my soy wax arrives I will give this a go. Great idea for replacing plastic bags and containers, I can see these will be very useful.
LikeLiked by 1 person
I’ve never seen/heard of this, but thoroughly intrigued 😉 Plus I have an assortment of cotton material pieces that I’d bought cos I loved the designs, but never found a use for. Perfect!
LikeLiked by 1 person
That’s awesome to hear; you can easily look at the process on YouTube- my tips would be that you def need pinking shears so that the cloth stops fraying, and to spread out newspaper to catch the drips. I made an assorted amount of sizes and shapes (circles and rectangles/squares), and use them all the time. It feels fantastic to not be buying or using cling wrap plastic any more, especially for school lunches… let us know how you get on! : ) G
They make a wonderful Xmas present package too…
LikeLiked by 1 person